Advice from between the grout lines
PLEASE NOTE:
Before you begin grouting your slate tiles & only when the adhesive is fully dried should you consider the next phase, if you do not let the adhesive dry fully you may experience lifting of your slate floor tiles after installation, they must fully bed & the adhesive must cure/dry properly.
Before Grouting
Clean The Slate First
It is advisable at this stage to remove any debris or adhesive that may have oozed up between the grout joints or been left on the surface.
You are now ready for the next phase of the installation but before you can begin grouting slate tiles, you must first clean the floor & seal it. To do this you will need your bucket & large sponge as shown on ("How To Install & Installing Slate Tiles" guide).
Begin by ¾ filling the bucket with clean luke warm water, then start from one end of the room wiping the surface of the tiles with a rinsed sponge, DO NOT saturate the floor. Depending on how dirty the slate tiles are I recommend that you wash out your bucket & get fresh clean water when it begins becoming dirty. Doing this enables you to have a nice fresh clean floor when the water has dried off the surface ready for you to seal your slate tiles.
You must now let the floor fully dry & I would recommend that you leave it overnight to dry at room temperature.
An Important Tip For You
If you have purchased Indian or Chinese Slate & especially black Chinese Slate, make 100% sure that these tiles are fully dried before you seal them, we have seen floors ruined by sealing damp or wet floors when using this slate.
Why you say?
Well because these slate tiles have high salt & mineral content, so once wet, efflorescence (an unpleasant, cloudy/white blooming affect) can cause crystallisation to occur which you will find almost impossible to rectify. So we recommend leaving these types of slate for at least 24 - 48hrs at room temperature to ensure that all moisture has fully disappeared.
Ready For The First Seal
You now need to get your small sponge roller & painters tray, ready for the next phase. Before grouting your slate tiles you must seal them. So pour some sealer that you have been supplied with in to the painters tray & then lightly seal your slate tiles.
DO NOT over apply the sealer, try to spread it well with the roller, you should easily get 12 - 15m2 coverage for every 1 litre of sealer that you have, if it is over applied you will be left with blotches, so spread it evenly over the tiles but not to thick.
By sealing your slate tiles you are blocking the pores of the stone, this will then enable the grout to float over the pin head sized holes on the stone & not stick within the pores, the grout should now be easily removed when it is applied & you are now ready for grouting the slate tiles.
A Tip For You
All natural slate or stone needs to be sealed, do not try to save a few pounds by cutting corners & not sealing your slate tiles prior to grouting, you will be left with a hazy mist on the surface & you will find it practically impossible to remove, (TRUST ME, I HAVE SEEN IT HAPPEN).Grouting Slate Tiles
Now the sealer has dried you are ready to grout your slate floor, you will need a clean bucket, fresh water & your chosen device for mixing. Read the grout manufacturers label prior to mixing any grout.
Mix a small amount of grout in the bucket for your first attempt, it is better to mix to little than to much on the first attempt as you will get a feel for how much water you will need for your second attempt at grouting slate tiles.
A Tip For You
I am assuming you are a beginner at this so I would suggest that you aim to work on 8 - 10m2 at a time, between grouting & cleaning.
"Why? I want to do the whole floor in one go", you say.
Because if you are grouting slate tiles by yourself, you will need to clean/wipe off as you go along, you cannot grout a whole floor in one pass, by the time you get to the opposite end your starting area will be drying & the grout is a pig to remove if you leave it on the surface for to long.
How To Grout
Apply the grout with your rubber float along the grout lines, it is best to grout across the grout lines on a diagonal ensuring that the grout is well pushed in to the grout joints. By pushing the grout in to the grout joints you are removing any air that may be trapped, the air can cause hollows that can render the grout lines weak in places & may over time pop out if the grout is not applied correctly.
Remove as much excess grout as possible with your rubber float as you go, you will find it much easier to clean if you do this.
Now you have grouted 8 - 10m2, get a clean bucket of lukewarm water & a clean sponge & start as soon as possible to clean the grout off the tiles, ring out the sponge before you wipe, do not saturate the tiles with water, it is best to wipe once then turn your sponge over to wipe with the other side, then rinse.
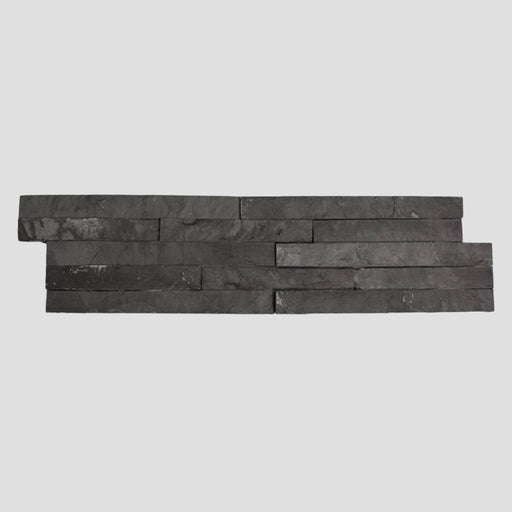
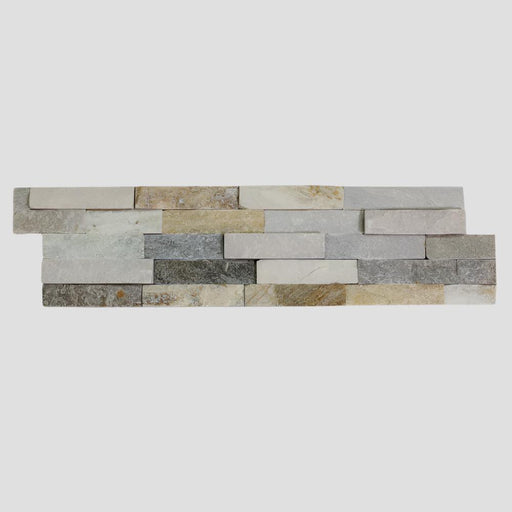
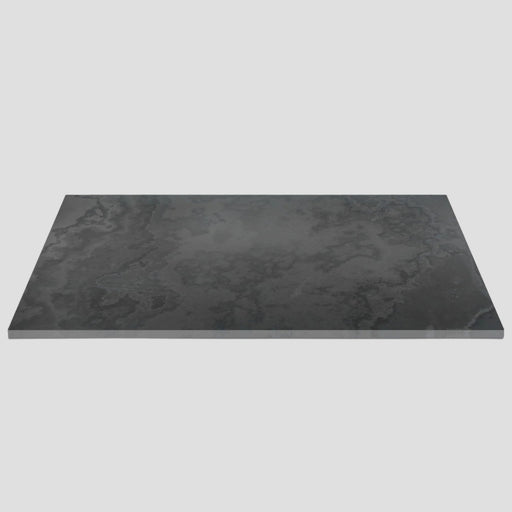
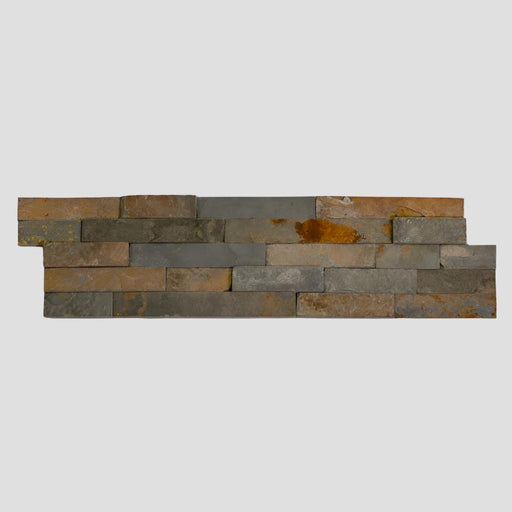
Slate Tiles From Mrs Stone Store

A Tip For You
When cleaning the tiles, wipe over the grout joints on a diagonal, do not follow the grout lines with your sponge, you will remove grout from within your grout joints, lightly wiping the slate tiles on a diagonal causes you to keep almost level with the top of the tile.
Use clean water for every 8 - 10m2 you grout, if your water becomes to contaminated with excess grout you will be forever cleaning.
Make sure you have removed all grout & stubborn clumps on the first clean, when you have cleaned the floor once this way, clean out your bucket & sponge ready for the next pass.
Repeat the grouting process until all the floor is grouted & cleaned as described above.
I now suggest you clean the whole floor again with fresh clean water & a clean sponge, I know it is hard work & you are tired but you will thank us if you do, the cleaner the floor the better it will look on the next phase of the installation process.


